Guide to Installing Insulation Pins
1. IntroductionInsulation pins are crucial components in ensuring that insulation materials are secu
Contact
Product Detail
1. Introduction
Insulation pins are crucial components in ensuring that insulation materials are securely fastened to various substrates. Their proper installation is essential for maintaining the integrity and effectiveness of insulation systems, whether in residential, commercial, or industrial settings. This detailed guide will walk you through the step by step process of installing insulation pins, along with important considerations regarding tools, safety, and potential challenges.
2. Tools and Materials Preparation
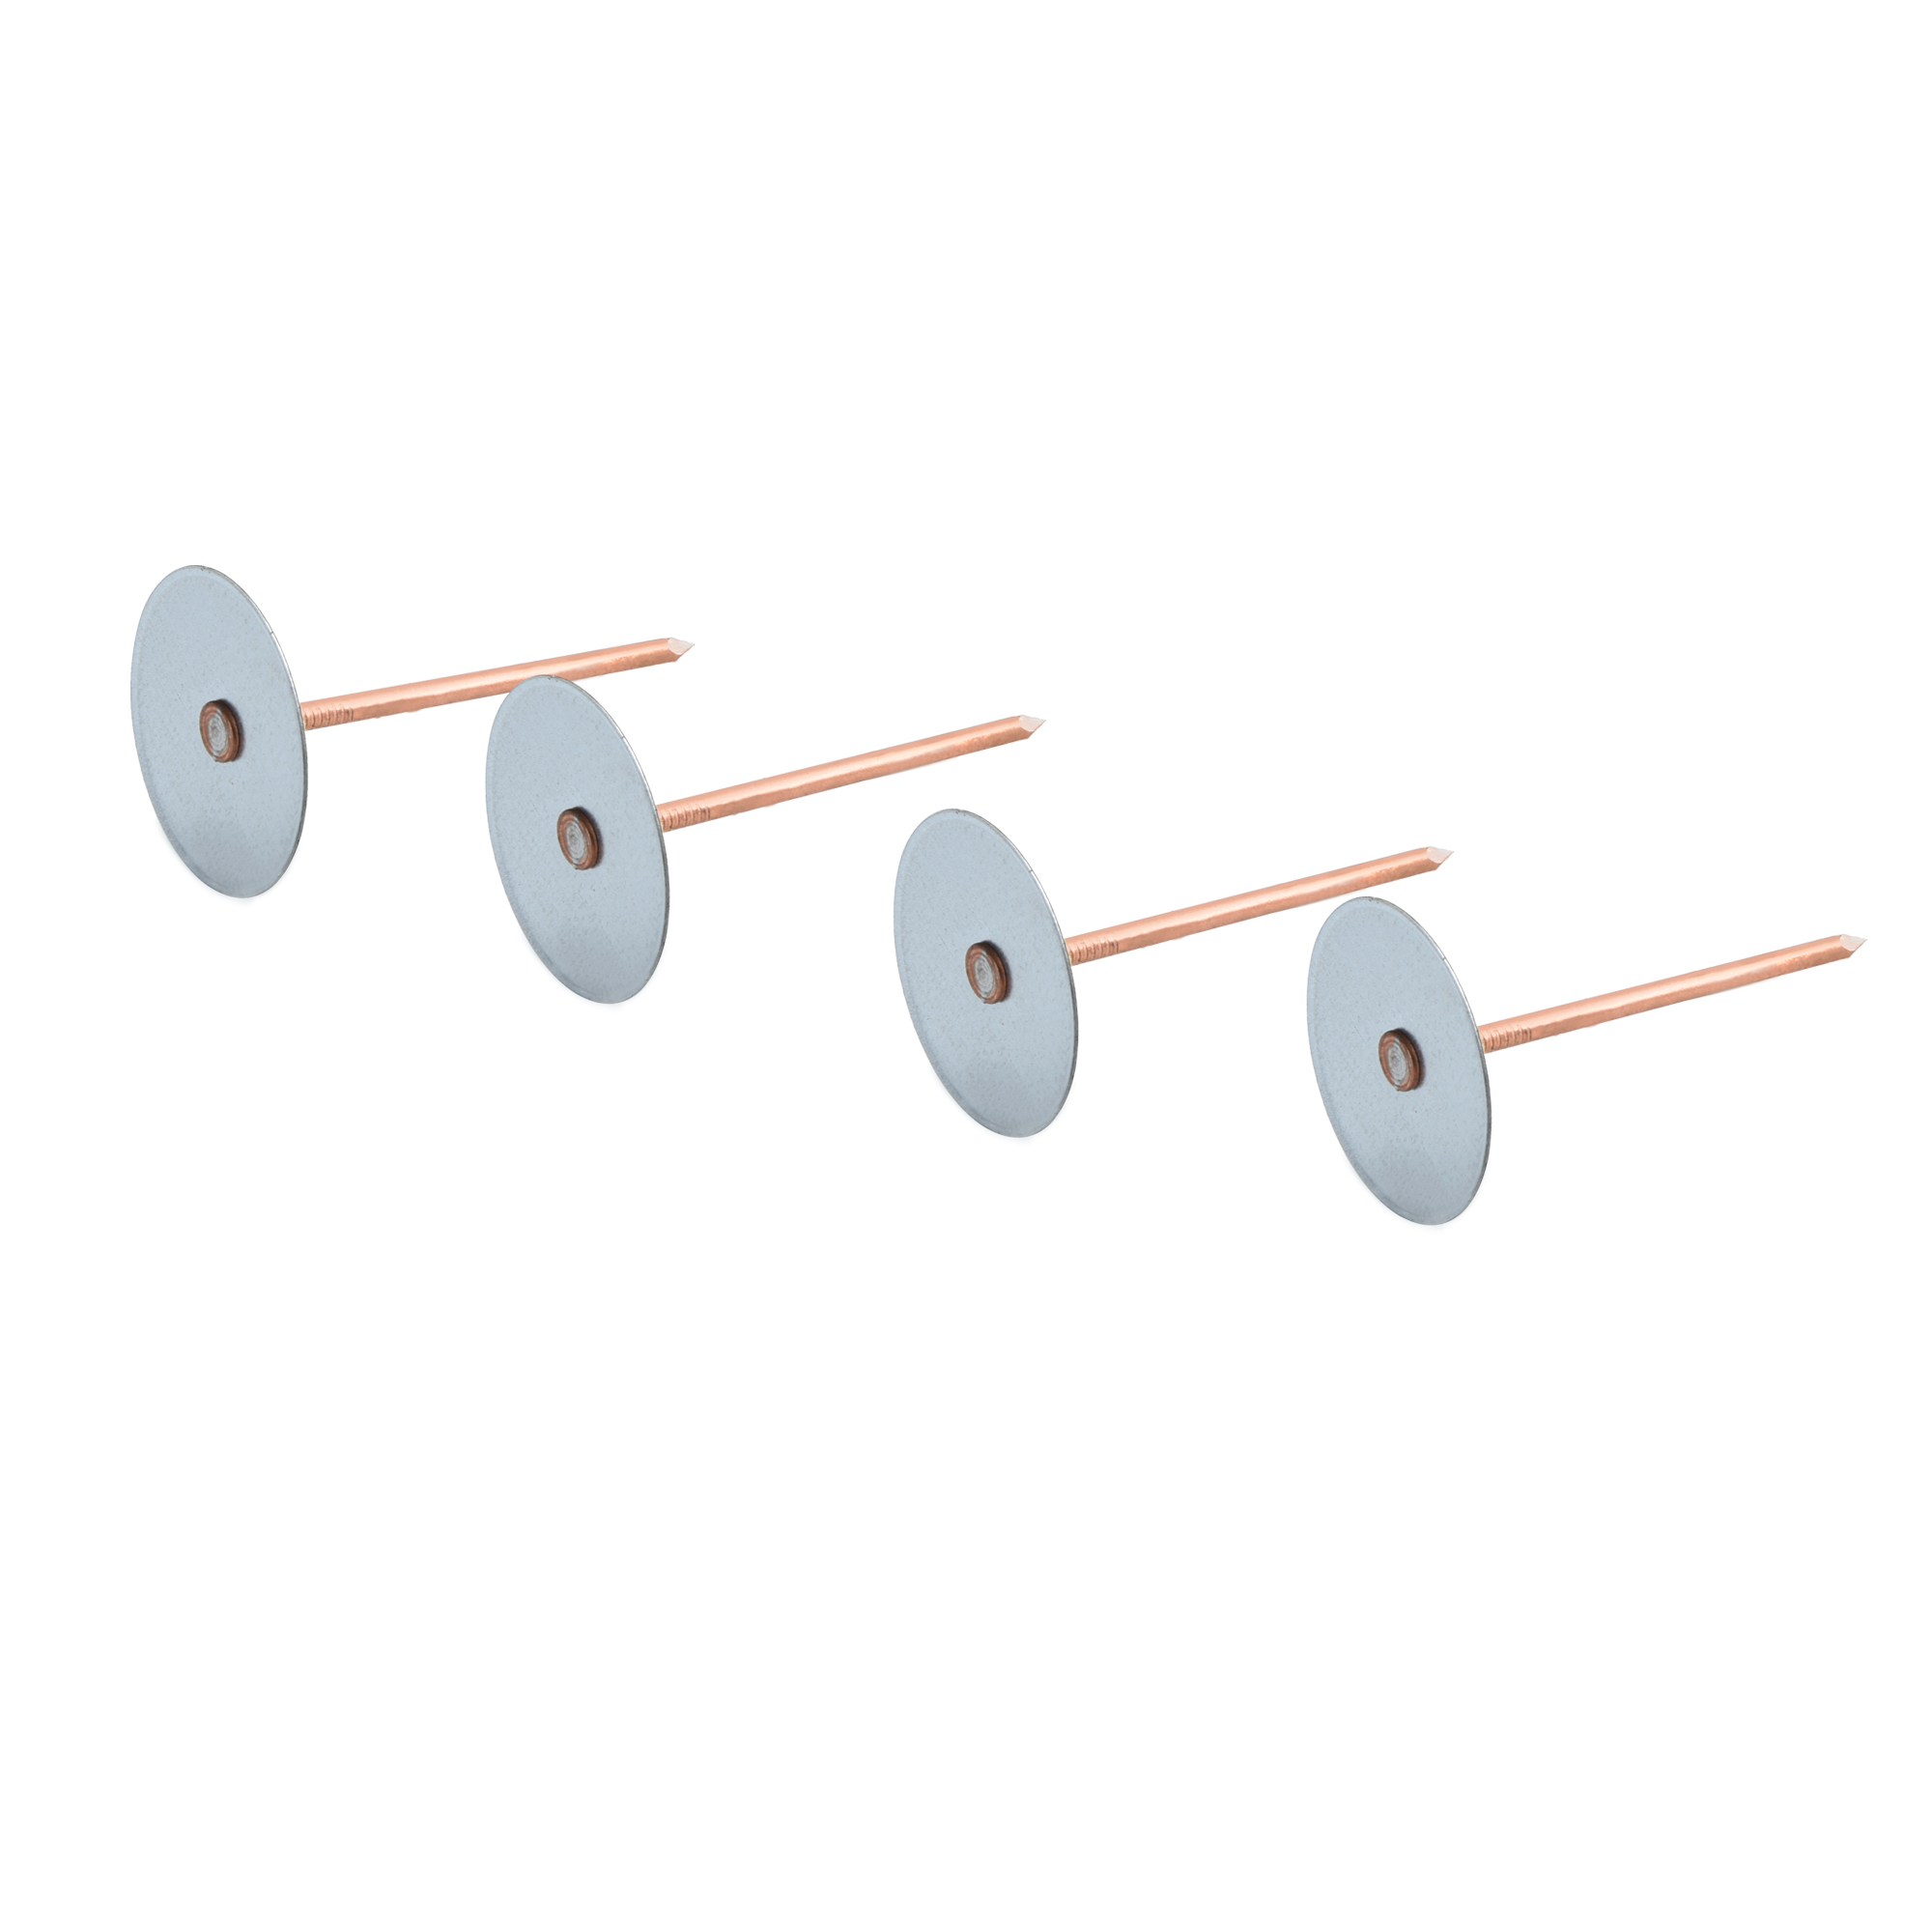
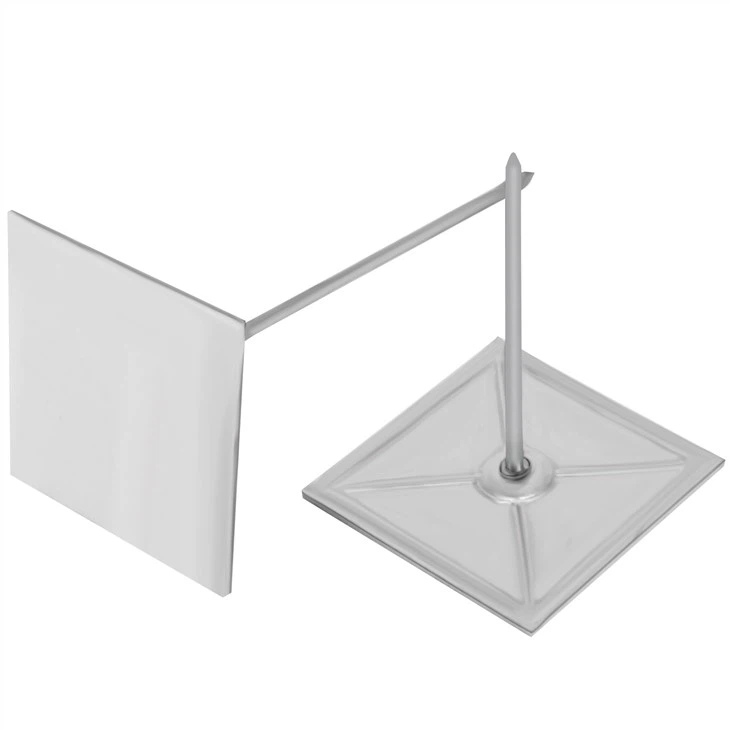
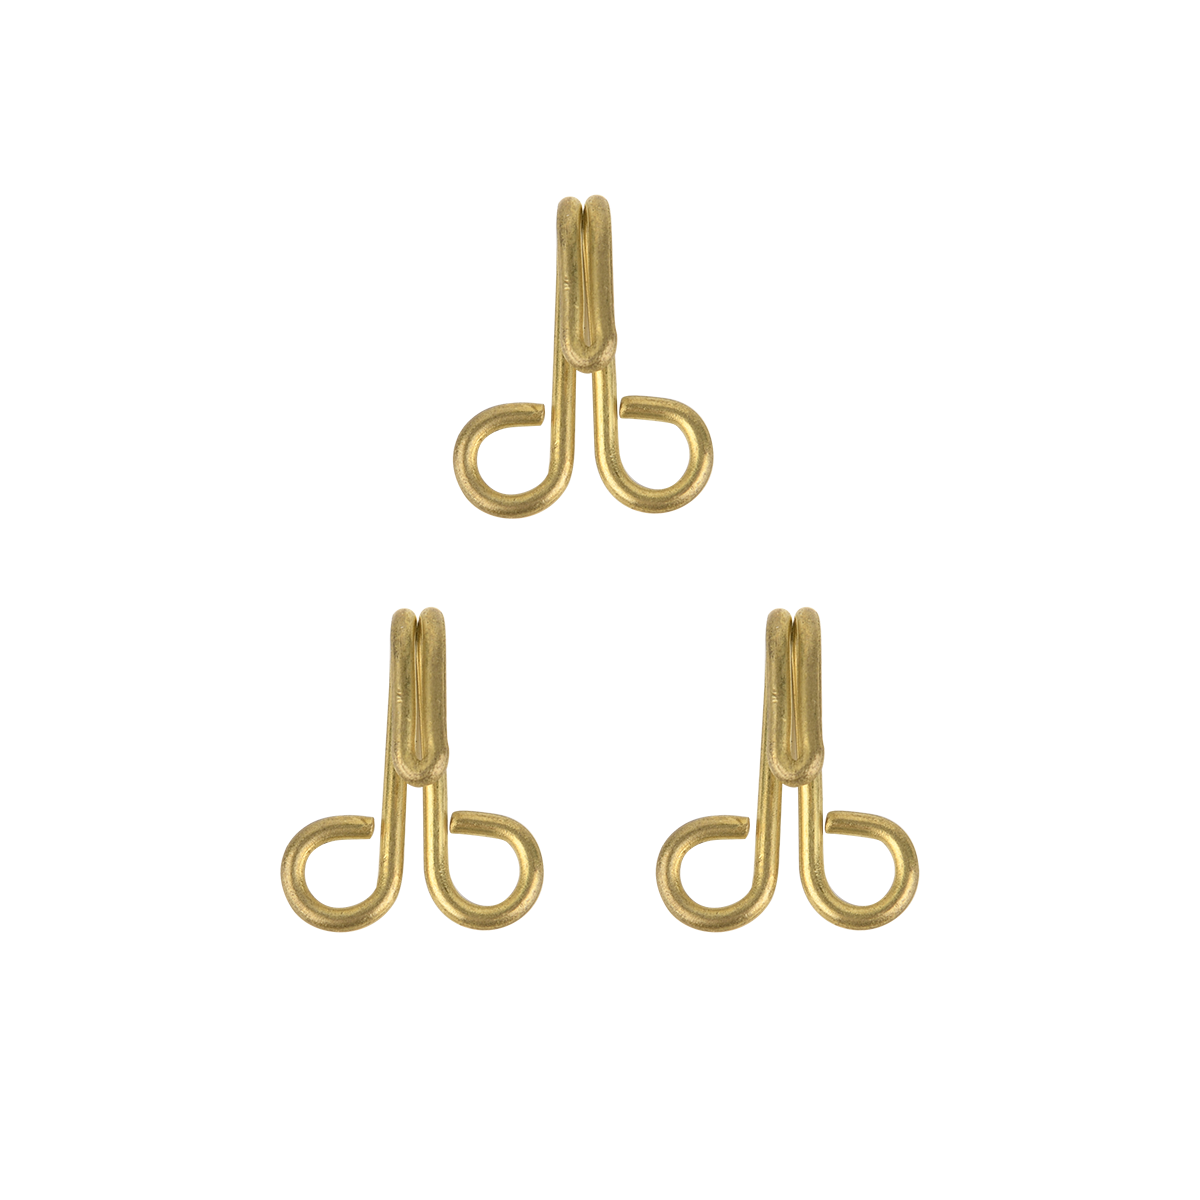
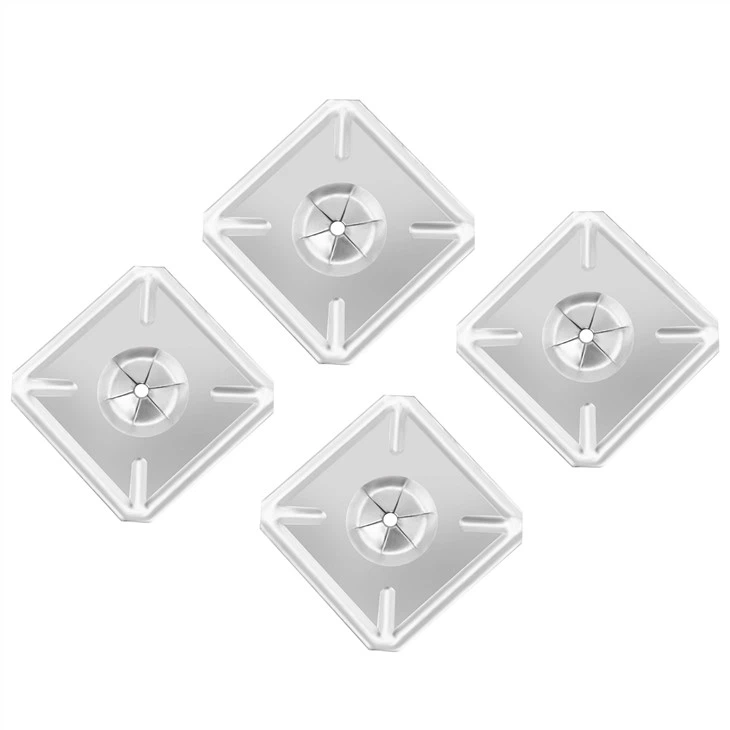
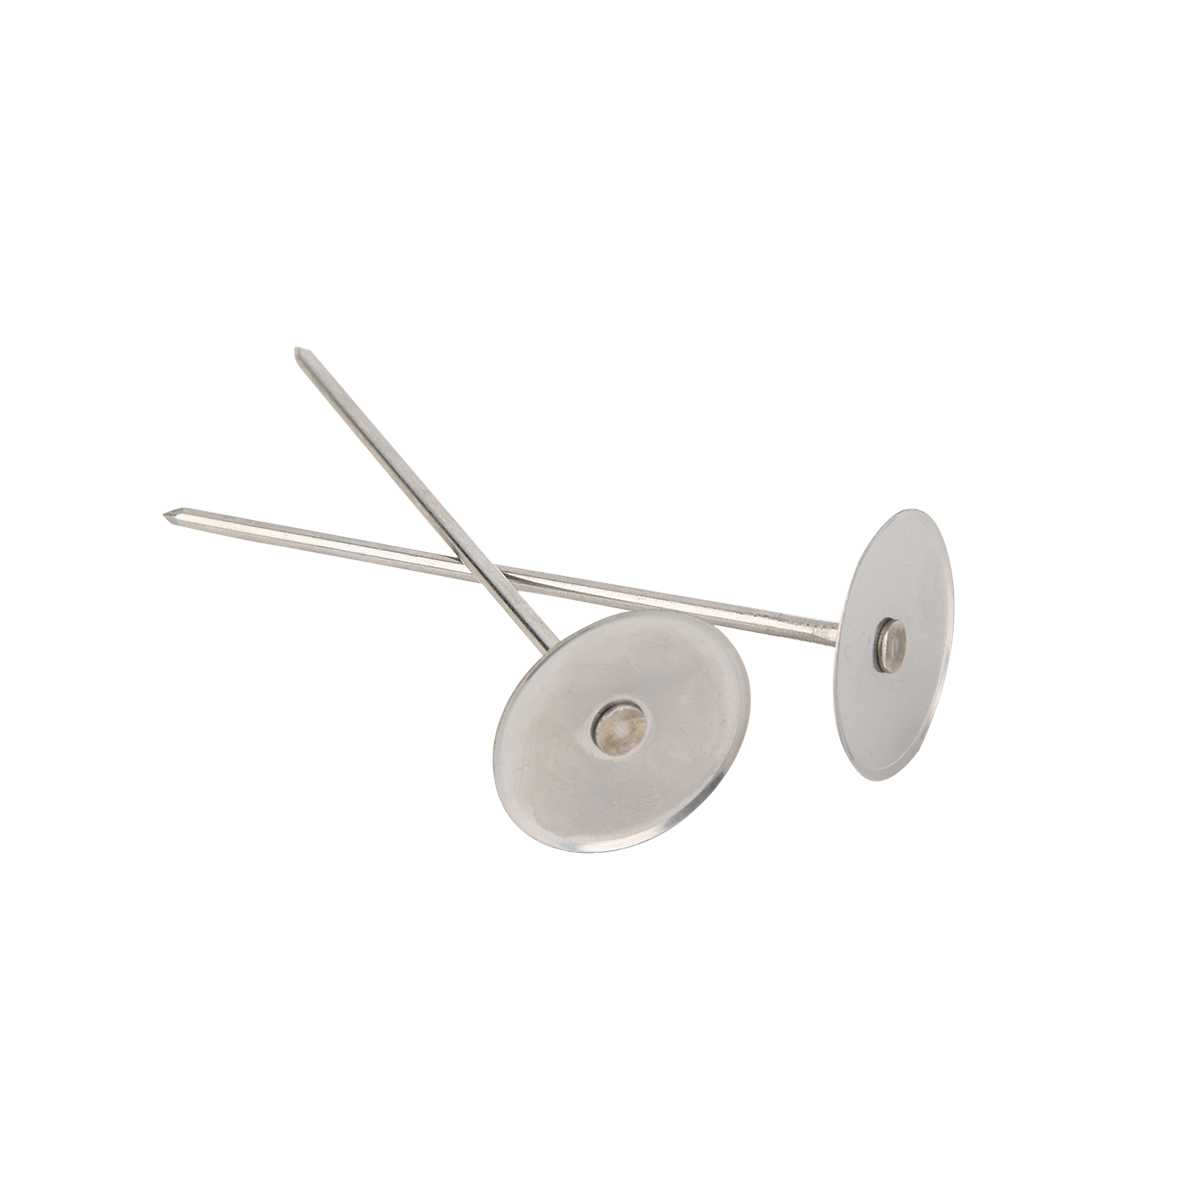
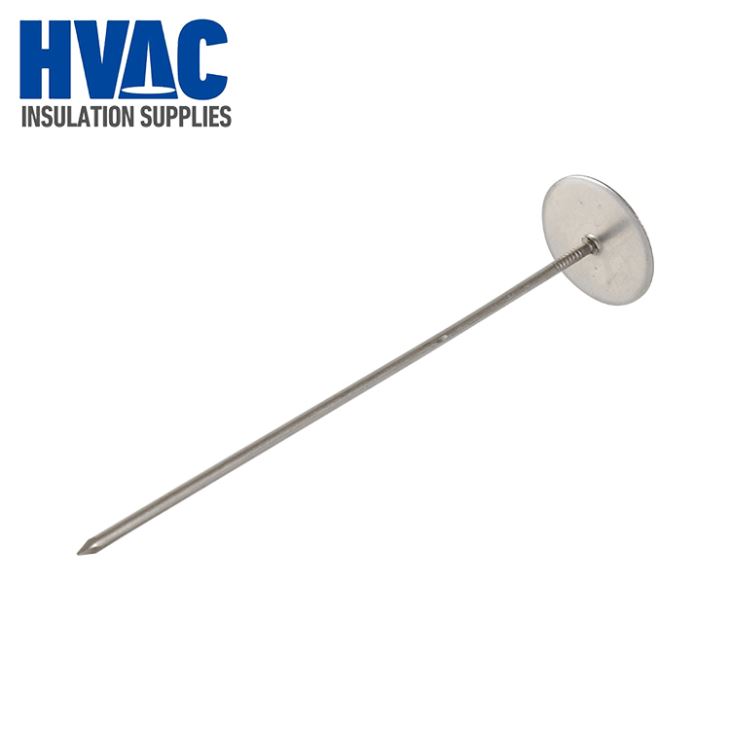
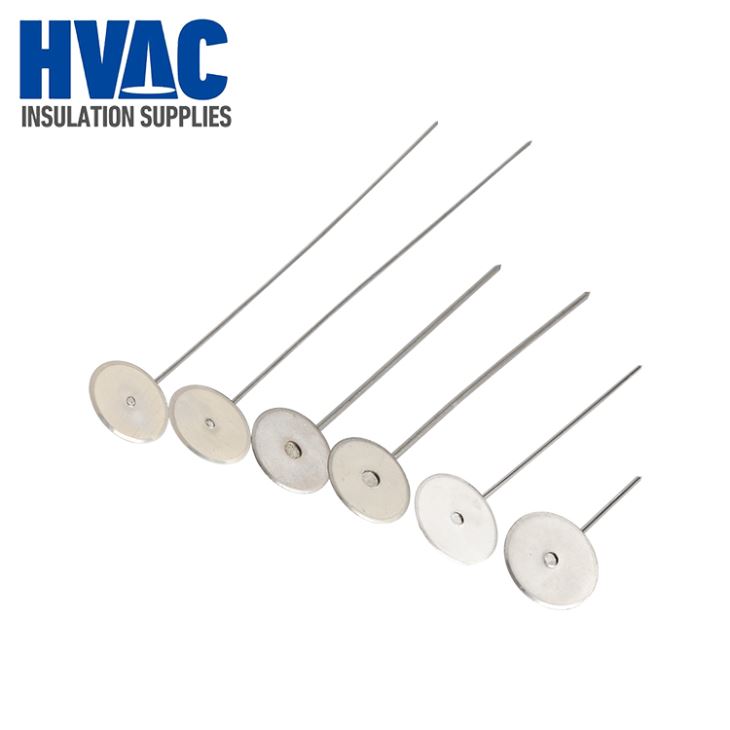
2.1 Insulation Pins
There are different types of insulation pins available, such as standard metal pins, plastic coated pins for added insulation, and self drilling pins. Select the pins based on the thickness of the insulation material, the type of substrate (e.g., wood, metal, concrete), and the environmental conditions of the installation area. For example, in a high humidity environment, corrosion resistant metal pins or plastic coated pins would be a better choice.
2.2 Insulation Material
The insulation material can vary widely, including fiberglass, mineral wool, foam boards, and more. Ensure that the insulation is cut to the appropriate size and shape for the area to be insulated. For large scale projects, having pre cut insulation panels can significantly speed up the installation process.
2.3 Installation Tools
Hammer: A basic tool for driving standard insulation pins into soft substrates like wood. A claw hammer is useful as it can also be used to remove pins if necessary.
Drill: Required when using self drilling insulation pins or for pre drilling holes in hard substrates such as concrete or thick metal. A power drill with variable speed settings is ideal for better control during the drilling process.
Screwdriver: Some insulation pins may have a threaded end that requires a screwdriver for tightening. A Phillips or flat head screwdriver, depending on the pin design, should be on hand.
Measuring Tape: To accurately space out the insulation pins. Precise pin placement is crucial for evenly distributing the load and ensuring the stability of the insulation.
Safety Equipment: This includes safety glasses to protect the eyes from flying debris during pin insertion, work gloves to safeguard hands from cuts and punctures, and a dust mask if working with insulation materials that produce fine particles, such as fiberglass or mineral wool.
3. Surface Preparation
3.1 Substrate Cleaning
Before installing insulation pins, the substrate surface must be clean. Remove any dust, dirt, grease, or loose material. For example, if the substrate is a concrete wall, use a wire brush or a vacuum cleaner to eliminate debris. On a metal surface, a degreaser may be needed to remove any oil or grease residues. A clean surface ensures better adhesion of the insulation and a more secure hold for the pins.
3.2 Checking for Structural Integrity
Inspect the substrate for any signs of damage, such as cracks in a concrete wall or rot in a wooden stud. If there are structural issues, they should be addressed before proceeding with the insulation pin installation. For minor cracks in concrete, a suitable concrete patching compound can be used. In the case of rotted wood, the affected area should be replaced to ensure that the insulation pins have a stable base to anchor to.
3.3 Priming (if necessary)
Some substrates may require priming to improve the adhesion of the insulation and the pins. For example, when installing insulation on a smooth metal surface, a metal specific primer can be applied. The primer creates a better bond between the substrate and the insulation, enhancing the overall installation quality. Follow the manufacturer's instructions for the proper application and drying time of the primer.
4. Installation Process
4.1 Measuring and Marking
Use a measuring tape to determine the appropriate spacing for the insulation pins. The spacing can vary depending on the type of insulation, the substrate, and local building codes. As a general rule, for wall insulation with standard sized fiberglass batt insulation, pins are often spaced 6 12 inches apart. Mark the positions on the substrate using a pencil or a marker. This will serve as a guide during the pin insertion process, ensuring even distribution and proper support for the insulation.
4.2 Insertion of Pins
Standard Pins in Soft Substrates (e.g., Wood): Hold the insulation material in place against the substrate. Take a standard insulation pin and place it at the marked position. Using a hammer, gently tap the pin through the insulation and into the substrate. Ensure that the pin is inserted straight and perpendicular to the surface for maximum holding power. Drive the pin until the head is flush with or slightly below the surface of the insulation.
Self Drilling Pins: For self drilling pins, especially when used on hard substrates like metal or concrete, start by placing the insulation material against the substrate. Insert the self drilling pin through the insulation and position it on the marked spot on the substrate. Using a drill, set it to the appropriate speed (usually a medium low speed for better control). Apply gentle pressure as you drill the pin into the substrate. The drill like tip of the self drilling pin will cut through the material, securing the insulation in place.
Pins with Threaded Ends: If the insulation pins have a threaded end, after inserting the pin through the insulation and into the substrate, use a screwdriver to tighten the nut or any other fastening mechanism. This will ensure that the pin is firmly in place and will not loosen over time.
4.3 Securing the Insulation
Once all the pins are inserted, check that the insulation is securely held in place. In some cases, additional measures may be needed to further secure the insulation. For example, a layer of wire mesh can be placed over the insulation and secured with the pins. This is especially useful in areas where the insulation may be subject to mechanical stress or movement, such as in industrial settings or in areas prone to high winds.
5. Safety Considerations
5.1 Personal Protective Equipment (PPE)
Safety Glasses: Wear safety glasses at all times during the installation process. When driving pins with a hammer or using a drill, there is a risk of debris flying into the eyes. Safety glasses with side shields provide maximum protection.
Work Gloves: Work gloves protect your hands from cuts and punctures. Insulation pins can be sharp, and handling insulation materials can also cause skin irritation. Gloves made of thick leather or synthetic materials are suitable for this task.
Dust Mask: If working with insulation materials that produce fine dust or fibers, such as fiberglass or mineral wool, a dust mask is essential. Inhaling these particles can be harmful to the respiratory system. Choose a dust mask with a proper filter rating for the type of particles you are dealing with.
5.2 Tool Safety
Hammer Safety: When using a hammer, make sure you have a firm grip on the handle. Swing the hammer in a controlled manner to avoid hitting your fingers or other body parts. Also, check the hammerhead regularly to ensure it is securely attached to the handle.
Drill Safety: For drills, always ensure that the bit is properly inserted and tightened. Do not operate the drill at high speeds when starting, especially when using self drilling pins. Keep your body in a stable position and avoid over reaching while using the drill. If the drill is corded, make sure the cord is not frayed and is out of the way to prevent tripping hazards.
5.3 Working at Heights
If the insulation installation is taking place at heights, such as on a ladder or a scaffold, additional safety precautions are necessary. Use a stable ladder that is placed on a level surface. Secure the ladder at the top and bottom if possible. When working on a scaffold, ensure that it is properly assembled, inspected, and equipped with guardrails. Wear a safety harness and attach it to a secure anchor point when working at heights.
6. Common Challenges and Solutions
6.1 Difficulty in Penetrating the Substrate
Hard Substrates: If you are having trouble driving a standard pin into a hard substrate like concrete, pre drilling a hole with a drill bit slightly smaller than the diameter of the pin can make the insertion process easier. For self drilling pins, make sure the drill is set to the correct speed and torque. If the pin still does not penetrate easily, check if the drill bit or the self drilling tip is dull and replace it if necessary.
Thick Substrates: In the case of thick substrates, longer insulation pins may be required. Measure the thickness of the substrate and choose pins that are long enough to penetrate through the insulation and the substrate with sufficient length remaining for a secure hold.
6.2 Pin Loosening Over Time
Vibration and Movement: In areas where there is vibration, such as near machinery in an industrial setting or in a building located near a busy road, pins may loosen over time. To prevent this, use pins with locking mechanisms, such as threaded pins with nuts or pins with spring loaded washers. Regularly inspect the pins and tighten them if they show signs of loosening.
Thermal Expansion and Contraction: In environments with significant temperature fluctuations, thermal expansion and contraction can cause pins to loosen. Using pins with flexible or expandable features can help mitigate this issue. Additionally, leaving a small amount of space around the pin to allow for movement can prevent the pin from being forced out due to expansion.
6.3 Insulation Material Compression
Excessive Force: When inserting pins, applying too much force can compress the insulation material, reducing its insulating properties. To avoid this, use a gentle and controlled force when driving the pins. If you notice that the insulation is being compressed too much, consider using pins with a larger head or adding washers over the heads to distribute the force more evenly.
7. Conclusion
Installing insulation pins is a process that requires careful planning, proper tool use, and strict adherence to safety guidelines. By following the steps outlined in this guide, from preparing the tools and materials to addressing common challenges, you can ensure a successful and long lasting insulation installation. The correct installation of insulation pins not only helps in maintaining the energy efficiency and comfort of a building but also contributes to the durability and performance of the insulation system in various applications.